I've been promising to put this recipe up on my blog for a looong time now. If you follow me on Instagram you may have seen me posting pictures of sushi I have been making and enjoying for my dinners and lunches, and lots of people asked me to post the method I use to make it - well here we finally are! A recipe for simple vegan sushi which is super easy to follow and once you get the hang of rolling the sushi is something I can promise you'll be making over and over again.

One of the best things about making your own sushi is that you can choose which fillings you want. For instance in the sushi pictured on this post I used spinach, carrot and bell pepper. In the past I have also added cucumber, avocado and marinated tofu. Being totally honest, it normally ends up being a mixture of what I have left in the fridge but that's still always yummy!!


If you do give this recipe for simple vegan sushi a go, feel free to tag me on Instagram using #susiechef so I can see how it turned out for you!

Yield: Makes enough sushi for 2 people
Ingredients
- 175g (1 Cup) Sushi Rice, boiled and cooled
- 2 Tbsp Rice Wine Vinegar
- 1 Tsp Golden Caster Sugar
- 4 Nori Sheets
- Choose from the following fillings; Carrot, Bell Pepper, Spinach, Cucumber, Spring Onions, Avocado
- In a bowl, mix your cooked sushi rice, rice wine vinegar and sugar.
- Chop your chosen vegetables into thin strips (except for spinach).
- Lay a sheet of nori shiny side down on a Bamboo Sushi Rolling Mat.
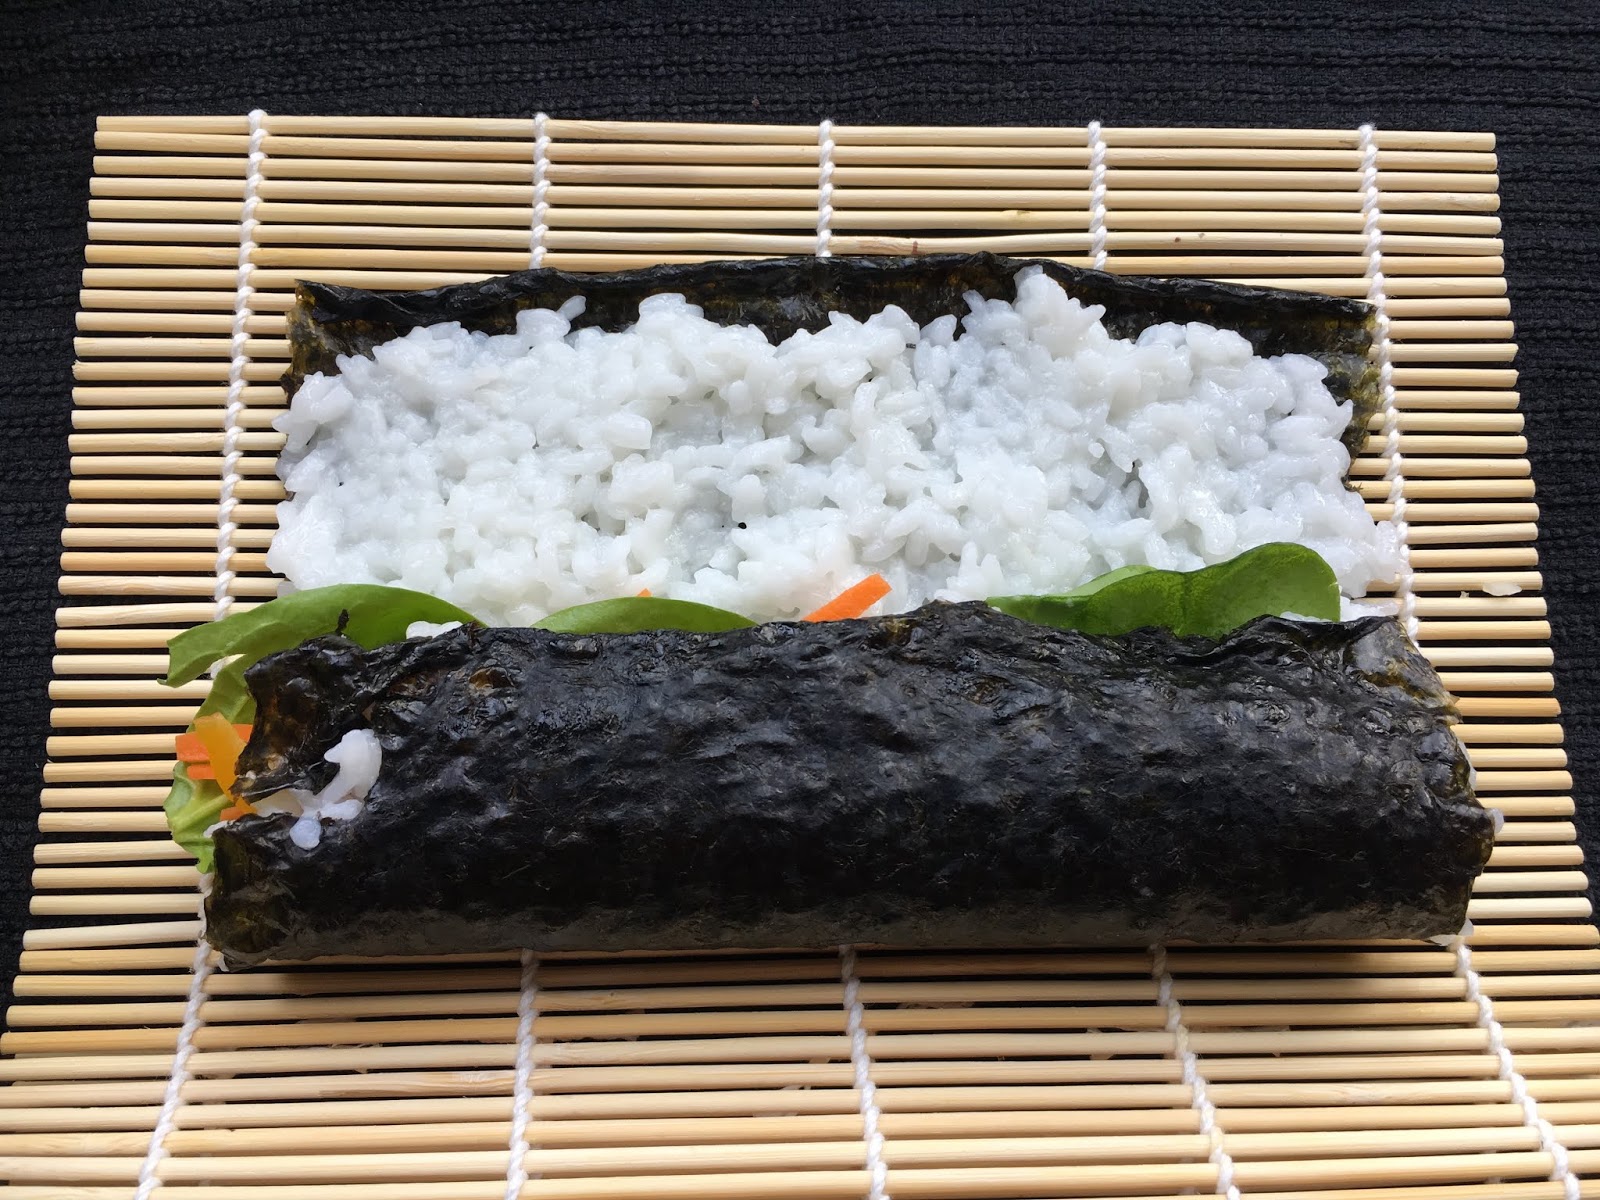
- Spoon on 1/4 of the sushi rice, spreading to each of the edges on the sides (see picture).
- Lay out your desired fillings in the middle of the rice.
- When ready to roll, brush along some water on the bare nori edges with your finger.
- Roll up the sushi, applying a little pressure with the mat to keep everything together.
- Once fully rolled, transfer to a chopping board. Using a sharp knife, dip the knife in boiling water then proceed to slice your sushi, dipping the knife in the water with each new slice.
- Enjoy with some soy sauce and wasabi!
©Susiechef. All images & content are copyright protected. I am the legal copyright holder of all material on this blog and you may not reprint or republish any images or content without my written permission. All information on this blog is for entertainment purposes only.
Disclosure: This post may contain affiliate links, from which I earn a small percentage of commission at no extra cost to you if you choose to purchase the items.
Disclosure: This post may contain affiliate links, from which I earn a small percentage of commission at no extra cost to you if you choose to purchase the items.
No comments
Post a Comment